
2023 Bullet Journal Tour

Just a note: This isn’t a sponsored post or anything—just me sharing about the journal I’m using and some of the stationery I use with it.
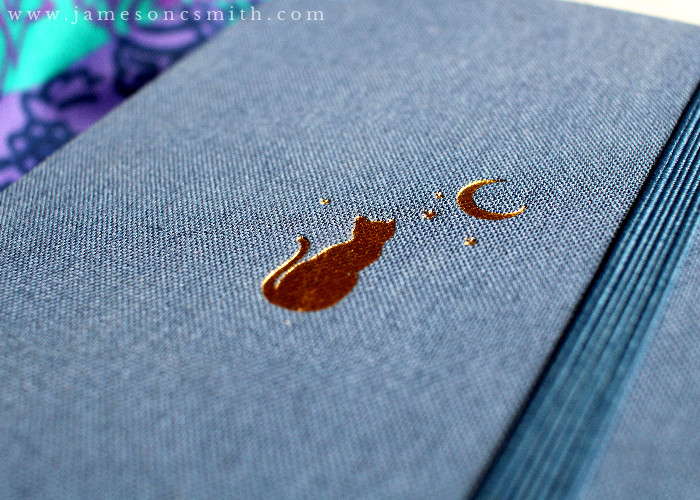
The Journal

This is the first journal I’ve bought from Archer & Olive but I really like it! I’d not seen much of the TN style notebooks, but for the most part, this size has been great.


Monthly Pages
So far I’ve kept the same layout for the months, just because it works really well for me at the moment! Each month has a title page, where I put a calendar (usually on the left). Sometimes I’ll add a quote to this page, and sometimes it’s just decorated with stickers or paper. On the opposite page, I note major tasks and goals for the month,
as well as important days such as birthdays or appointments.

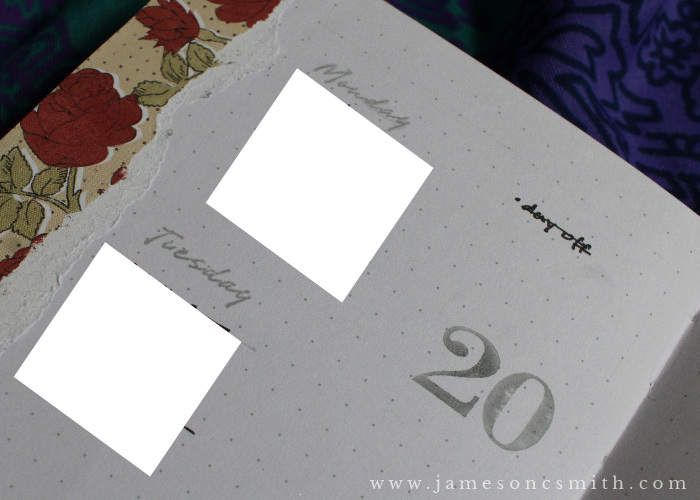
Weekly Pages
I’ve tried a couple different layouts for the weekly pages. Each week gets two pages; usually, the left page contains Monday through Thursday, while the right page contains Friday through Saturday. In January and February, the right page also had a space for weekly tasks. I used a horizontal layout for January and February. I really liked it and found it usually had plenty of space for writing things.
In March, I used a vertical box layout. I didn’t include a weekly task box, and opted instead to use the space for more decoration.

For April, I’m going to use the vertical box layout again. This time, I’ve added a task box on the right page, since I missed having one in March. The dimensions of the boxes are the same as March, but I’ve placed them closer together to leave room for decoration or quotes on the bottom of the pages.

Supplies
I already had a lot of stationery prior to starting this journal, so I’ve tried not to buy too much more for it. I did, however, buy some scrapbook paper for the yearly overview pages and some new pens.
For decoration, I really like using stickers! I’ve also used scrapbook paper, washi tape, and stamps.
My favorite tools are fineliner marker pens in varying sizes (various brands), markers/highlighters, white gel pens (I really like the Gelly Roll pens since they come in different sizes, and the Uni-ball Signo pen), paper clips, and correction tape. For sketching out the weekly spreads, I use a pencil and ruler, and set up the entire month at one time (I don’t always decorate all of the weeks at once, but it helps to already have them ready in one go!). I would also recommend paper clips and sticky notes.

I absolutely love your setup! It's so aesthetic, but so functional *starry-eyes*. Your March weekly spread in particular is stunning. :D
ReplyDeleteThank you!! That one was one of my favorites of the whole journal so far! ^_^
DeleteOH MY. Your spreads are absolutely GORGEOUS. I've just been over here with all the heart-eyes seeing this. So, so beautiful. Thank you for sharing this with us!
ReplyDeleteThank you so much! It was a fun post to put together, even if it did take me much longer than I intended, hehe. I'm so glad you liked it!
Delete